 Nail Art Trends
Remove Gel Nail Polish at Home Without Destroying Your Nails
Why Your Removal Method Matters More Than the Polish Itself
I still remember the first time I peeled off a full set of gel nails while watching a movie. The satisfying pop lasted about three seconds. The regret lasted three months. My nail beds were fuzzy, white, and so thin I could bend them backward with almost no pressure. It felt like I'd ruined them permanently. The truth I learned later — and that every dermatologist-backed study reinforces — is that gel polish itself isn't the villain. It's the removal. When you soak correctly, you're dissolving polymer chains that were cured under UV light. When you peel or scrape aggressively, you're physically ripping off layers of your natural nail plate along with the color. That's why your nails feel thin and brittle afterward: you've literally removed protective keratin, not just dehydrated them. The American Academy of Dermatology notes that repeated physical trauma to the nail matrix during improper removal is one of the leading causes of chronic nail weakness in adults who wear enhancements. The good news? Switching to a proper soak-off method reverses the damage almost entirely, because your nails aren't being torn — they're just thirsty.
The Non-Negotiable Prep: Protecting the Skin You Didn't Know Was at Risk
Before you unscrew that acetone bottle, look at the skin surrounding your nails. Those cuticles and sidewalls are about to take a chemical bath, and dry acetone on bare skin burns fast — I learned this the hard way when I ignored the prep step and spent an evening with angry red fingertips that stung every time I touched warm water. The fix takes ninety seconds. Grab a thick occlusive balm — plain petroleum jelly works perfectly, or any heavy cuticle cream with lanolin — and pack it generously around each nail. Get it onto the eponychium (that live skin just below the cuticle), down the lateral nail folds, and even a thin smear over the knuckle closest to the nail. This creates a waterproof barrier so the acetone soaks into the polish, not your skin. If you have any small cuts or hangnails, this step is non-negotiable; liquid bandage over the wound plus the balm barrier prevents the sharp, surprising sting that makes people rip off their foil wraps too early.
The Soak-Off Method: Patience Is Your Only Active Ingredient
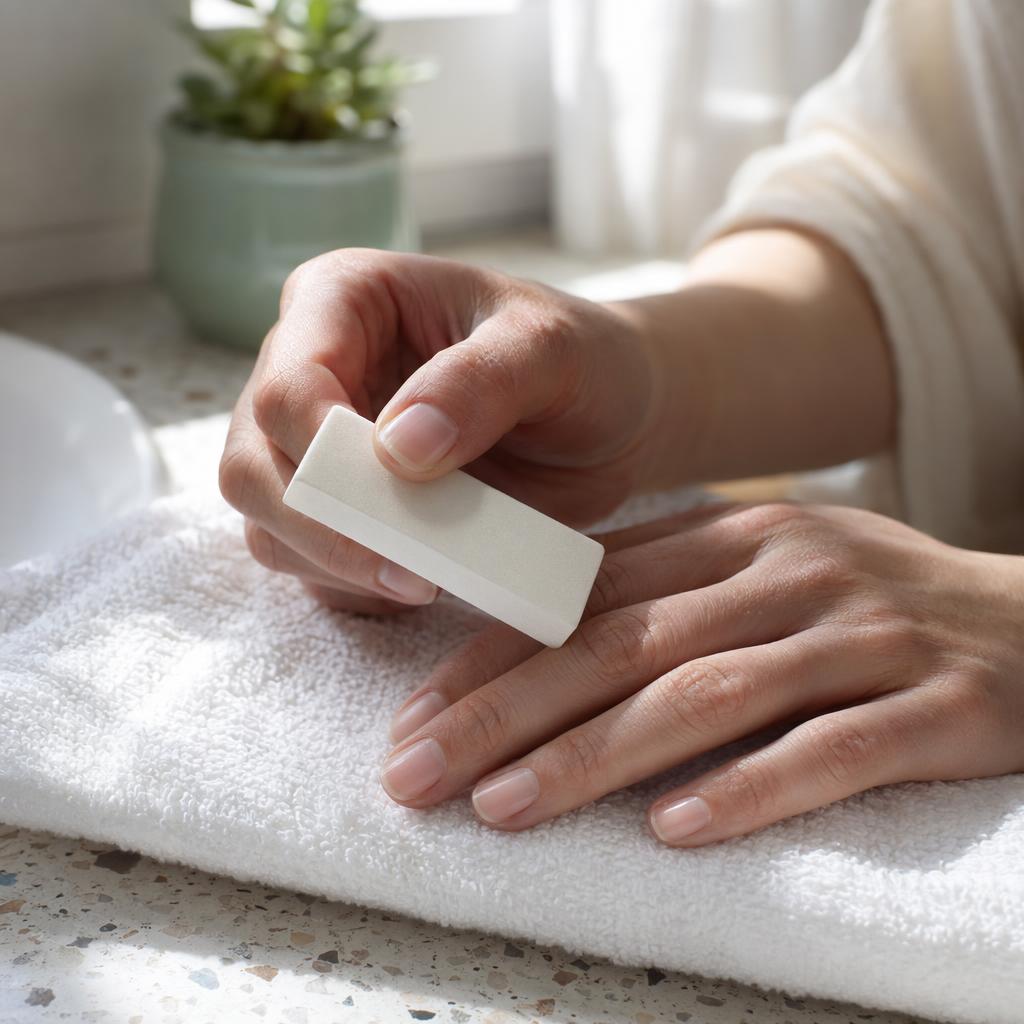
The process is mechanically simple, but the details make or break your nail health. Start by breaking the top coat seal. Gel polish has a shiny, impermeable layer that acetone can't penetrate quickly, so take a medium-grit file (180-240 grit) and gently buff the surface of each nail until the gloss disappears. Don't saw back and forth — long, light strokes in one direction keep the nail plate intact. You're not filing off color, just roughing up the seal. Next, cut ten strips of aluminum foil roughly three inches square, and tear ten cotton balls into halves or use small cotton pads that fully cover the nail without overlapping onto much skin. Soak a cotton piece in pure acetone until it's wet but not dripping, place it directly on the nail plate, and wrap the foil tightly around the fingertip, twisting the end to hold it snug. The cotton must make consistent contact with the polish. Set a timer for fifteen minutes and don't peek. After the timer goes off, press down on the foil-wrapped nail with your opposite thumb and twist gently — if the polish slides off as a gummy sheet, you're done. If it resists, rewrap and give it five more minutes. The "twist-off" method uses the foil itself to lift the loosened polish rather than scraping with a tool, which dramatically reduces gouging. For any tiny flecks left behind, a plain orangewood stick — never metal — can nudge them away with zero downward pressure. If you're pushing hard, stop and re-soak.
What If the Polish Won't Budge? Troubleshooting Stubborn Formulas
Twenty minutes in and the gel looks untouched. Before panic sets in, identify what you're actually dealing with. Soft gel (soak-off gel) will eventually turn gummy and slimy in acetone; it just might need a longer session or a slightly warmer environment — tucking a heating pad over your wrapped hands speeds up the chemical reaction safely. Hard gel, however, is a different animal entirely. If after thirty minutes of pure acetone soak the surface is still rock-hard and shows zero texture change, you likely have a hard gel overlay that cannot be chemically dissolved. Hard gels are designed for structural extensions and only file off. No amount of soaking will break those polymer bonds, and scraping at them will carve trenches into your natural nail. In this scenario, step away from the acetone and book a professional appointment for a safe file-down. For soft gels that are simply stubborn, the re-wrap technique is your best friend: remove the foil, gently push off whatever has loosened, apply a fresh acetone-soaked cotton ball, and re-wrap for ten minutes. This fresh solvent contact tackles the deeper layers without the temptation to scrape. And a quick myth-buster — adding heat by dipping wrapped fingers into warm rice or using a bowl of acetone is both messier and riskier for skin exposure than the targeted foil-wrap method.
The Aftermath: How to Rebuild Hydration and Strength Immediately
The moment the last fleck of color is gone, your nails are in their most vulnerable state — porous, dehydrated, and slightly alkaline from the acetone. The first ten minutes post-removal determine how they'll feel for the next week. Wash your hands with cool water and a gentle, fragrance-free soap to neutralize any remaining solvent, then pat dry without rubbing. Don't buff or file yet. Reach for a lipid-rich cuticle oil — jojoba oil is ideal because its molecular size is small enough to actually penetrate the nail plate — and apply it liberally to the entire nail surface, under the free edge, and into the surrounding skin. Massage it in for at least sixty seconds per hand. This isn't just a nice ritual; it's physically replacing the intercellular lipids that acetone stripped out, restoring flexibility so your nails bend under pressure instead of snapping. Follow with a hand cream containing ceramides or urea, and if your nails feel especially bendy, a single coat of a flexible ridge-filling base coat can provide structural support while the natural oils rebalance over the next twelve hours. Repeat the oil application three times that first day, and you'll wake up to nails that feel resilient, not fragile.
The Biggest Lies You've Been Told About Home Removal
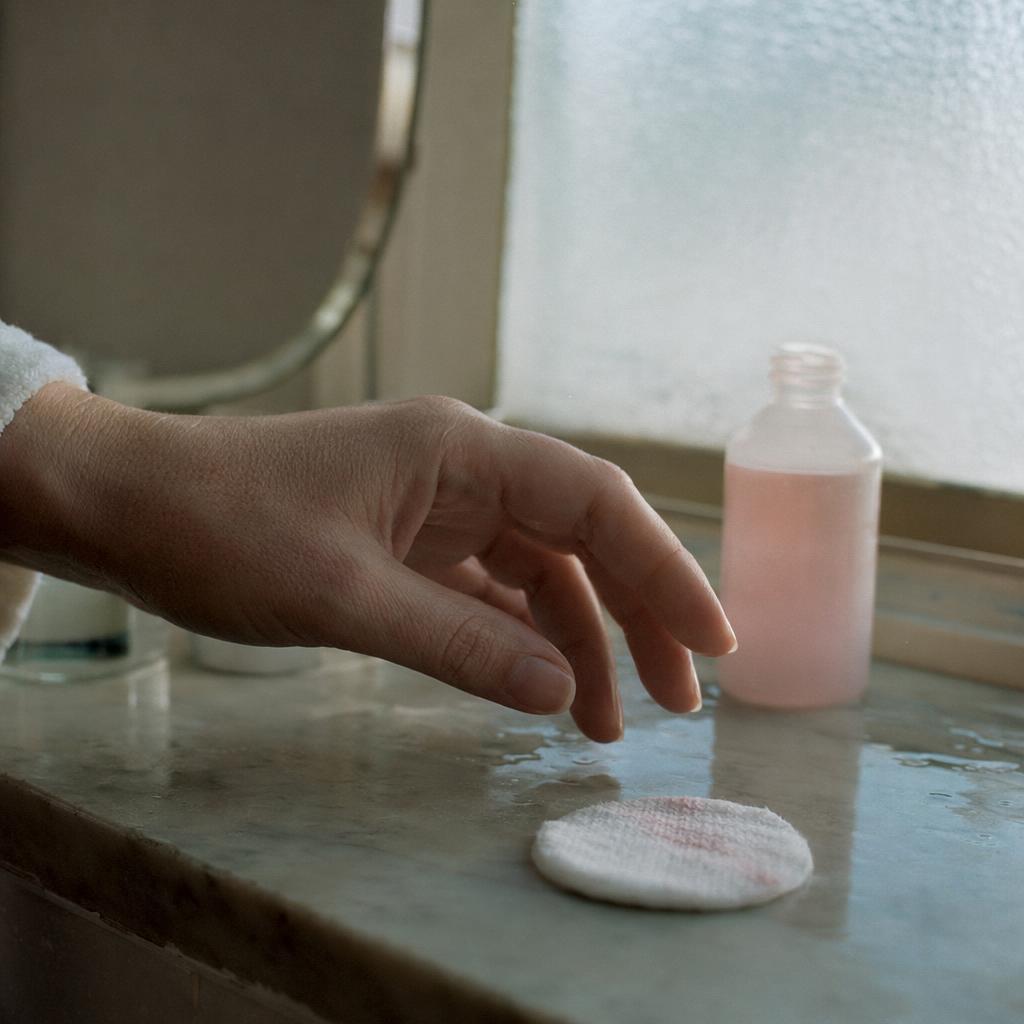
Somewhere on social media, someone is demonstrating how to pop off a gel manicure in one piece using dental floss, an orange stick, and sheer force. This is not a hack — it's a controlled nail avulsion. When you peel off gel polish, you're not just removing product; you're delaminating layers of your natural nail plate because the gel bonds so tightly that keratin rips away with the color. That white, chalky surface you see afterward is exposed underlayers of nail that were never meant to be on the surface. Another pervasive myth is that pure acetone is "too harsh" and non-acetone remover is gentler. Chemically, non-acetone removers — usually ethyl acetate or methyl ethyl ketone — are weaker solvents for gel polymers, so they require longer exposure times and more scrubbing, which creates mechanical damage that pure acetone's quick efficiency avoids. The harshness isn't in the chemical; it's in the duration of contact. And the bowl-of-acetone dip method? That submerges all your skin in solvent unnecessarily, dramatically increasing the risk of dermatitis and chemical burns compared to targeted foil wraps. Stick to the wrap, keep the acetone on the nail, and never, ever peel.
Final takeaway: soak gently, protect your skin obsessively, and treat the post-removal oiling like a medical prescription, not a luxury. Your nails aren't ruined — they're just waiting for you to stop scraping and start hydrating.
Frequently Asked Questions
Can I use pure acetone instead of regular nail polish remover?
Yes, and you should. Non-acetone remover lacks the chemical strength to break down gel polymers, leading to excessive scraping. Pure acetone is faster, limiting overall exposure time.
Why do my nails feel so thin and bendy after removing gel?
It's often dehydration, not permanent thinning. The acetone strips natural oils. The nail plate is flexible when dry; rehydration with oil restores rigidity within hours.
Is it safe to use a cuticle pusher to scrape off the softened gel?
Only with extreme gentleness using a wooden orangewood stick. Metal tools can gouge the nail plate. Never force it—if scraping requires pressure, the gel isn't ready and needs more soaking.
How do I know if I have hard gel or soft gel on my nails?
If acetone makes it gummy but not liquid, it's soft gel and removable. If it remains rock-hard after 20 minutes, it's likely a hard gel that cannot be chemically removed and must be filed off professionally.
My fingertips are burning from the acetone. What should I do immediately?
Remove the wraps instantly and wash with cool water and soap. The burning means the skin barrier was compromised. Apply a thick balm or petroleum jelly and leave the nail exposed for 24 hours before attempting removal again.